We have bees! Hurray!
After much anticipation the bees were successfully delivered to our local bee club on Saturday. Our mentors came over to help us install the 3 pound package of bees into our hive. The process of installing the bees was much more relaxed and easy than I expected. To be honest, I knew what we were going to do, but in my mind I imagined it somehow being a long and stressful process. Which it wasn't at all. From start to finish I think it took about 20 minutes. The best part was being able to include our 4 year old daughter. We suited her up and she really enjoyed watching and learning. She pointed out the drone bees from the worker bees, and really enjoyed seeing them fly around. She keeps asking if we can go check on them so she can say "Hi." She's a natural beekeeper!
The biggest stumbling block was our mistake and misunderstanding of what we were told we would need to get started. We only had a bottom box, and preferably to install the bees we needed a second box. Our great mentors helped guide us through that flawlessly, and to solve the problem we temporarily removed half the frames in our box and replaced the space with the box the bees came in. The next day our mentor William came to check in and let us borrow a super (that's what the hive boxes are called). We then put the frames back into the bottom brood box (that's what the bottom hive box is called).
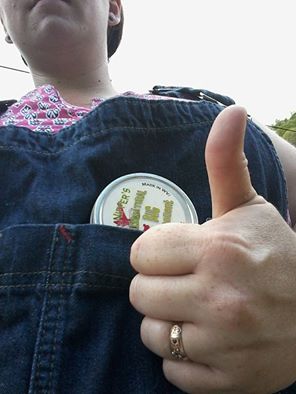
Have you ever seen a three pound package of bees? It's really neat. The package is a wooden box with screen/hardware cloth sides. Inside the box are the bees, a smaller box similarly made with the queen, and a large can feeder. Here are a couple pictures--
After much anticipation the bees were successfully delivered to our local bee club on Saturday. Our mentors came over to help us install the 3 pound package of bees into our hive. The process of installing the bees was much more relaxed and easy than I expected. To be honest, I knew what we were going to do, but in my mind I imagined it somehow being a long and stressful process. Which it wasn't at all. From start to finish I think it took about 20 minutes. The best part was being able to include our 4 year old daughter. We suited her up and she really enjoyed watching and learning. She pointed out the drone bees from the worker bees, and really enjoyed seeing them fly around. She keeps asking if we can go check on them so she can say "Hi." She's a natural beekeeper!
The biggest stumbling block was our mistake and misunderstanding of what we were told we would need to get started. We only had a bottom box, and preferably to install the bees we needed a second box. Our great mentors helped guide us through that flawlessly, and to solve the problem we temporarily removed half the frames in our box and replaced the space with the box the bees came in. The next day our mentor William came to check in and let us borrow a super (that's what the hive boxes are called). We then put the frames back into the bottom brood box (that's what the bottom hive box is called).
Have you ever seen a three pound package of bees? It's really neat. The package is a wooden box with screen/hardware cloth sides. Inside the box are the bees, a smaller box similarly made with the queen, and a large can feeder. Here are a couple pictures--
 Truckload of bees. Our mentors had a busy day ahead of them delivering bees, and helping a handful of others install their bees. | 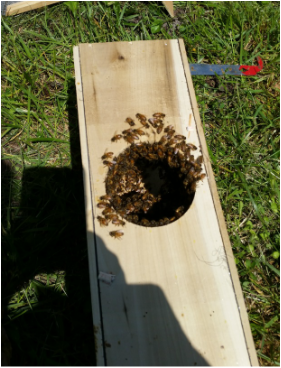 After removing the top cover over the feeder can and removing the can, the bees were free. |
| You can watch this really cool video I found on YouTube of an assembly line putting together packages of bees. It gives you a great view into the process and even the size of the box that all the bees come in. | |
So why are we keeping bees? For a lot of reasons, really. One reason is that the bee population in the world has drastically decreased. Keeping bees can help reduce the loss of bees. Another reason is bees pollinate. Whether the plant is just a flower, a vegetable, or fruit it needs bees to pollinate. Having bees makes happy pollinated gardens, orchards, and pretty flowers. Also, bees make honey. Honey is delicious. Honey is good for you! There are a lot of medicinal uses for honey and it's a great natural sweetener. You can even make honey wine (mead), which is nice alternative to the traditional bottle of wine for a special occasion. Beeswax is also a wonderful benefit of keeping bees. I use a lot of beeswax in the products I offer (ointment, bug repellent, lavender & tea tree lotion bars, sandalwood lotion bars, lotion in motion, and lip balms). When choosing ingredients for the products I offer I only choose what is clean and natural, and most importantly, safe for most everyone.
| | Beeswax offers a great number of benefits, some of which are:
|
- Humectant: When you put it on, you attract water molecules, helping to keep skin hydrated over time. This avoids suffocation or drying, making skin happy!
- Vitamin A: A good source of this vitamin, beeswax helps support cell turnover and reconstruction.
- Wound healing: Because of its anti-inflammatory properties, beeswax has been found to help encourage the healing of wounds.
- Itching: If you suffer from dry skin itching, dermatitis, eczema, or any type of itching related to a skin condition, beeswax is for you. A study published in 2012 found that those patients who suffered serious burns, and later went through “post-burn itch” when the burns were healing, experienced relief with an herbal oil cream and beeswax combination, so much so that they were able to cut back on their use of medications for the itch. Because beeswax is anti-allergenic, it is also easily tolerated by even those with reactive skin. You can also read more about that study here.
- Candles: Burning beeswax candles are non-toxic when they burn; they don't produce the soot and smoke that other candles do. Beeswax candles also help purify the air because they create negative ions that naturally ionize the air. They also burn brighter and longer than other types of candles.
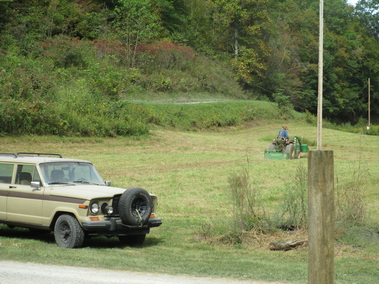
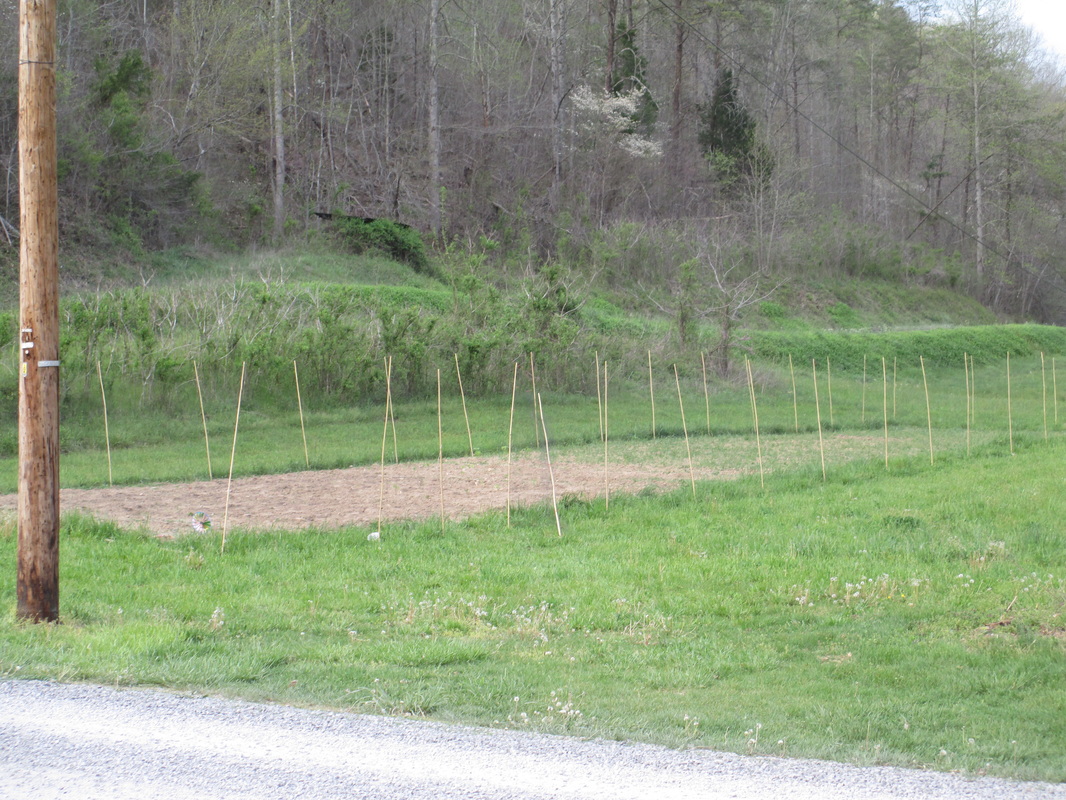
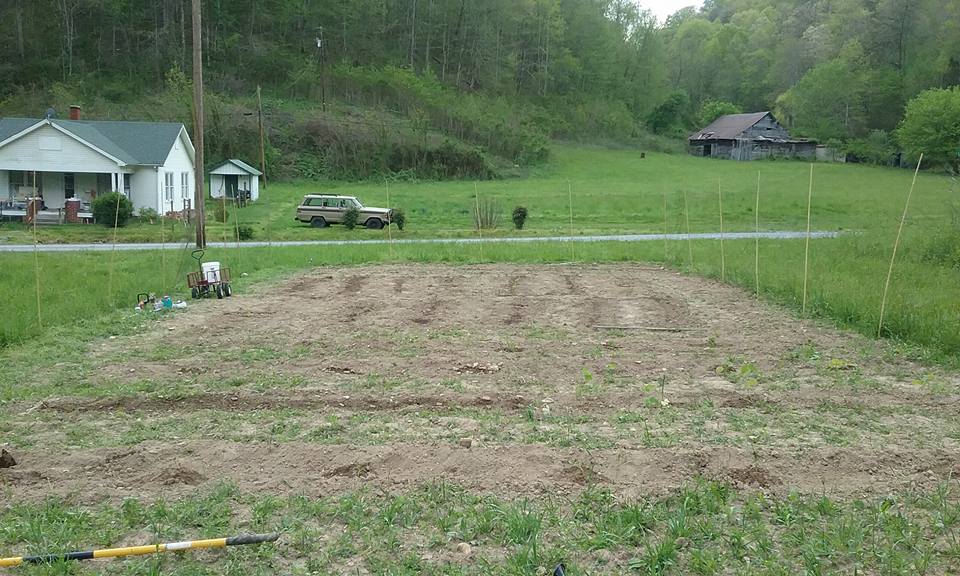
The benefits are many and I am looking forward to being a good host to our bees. We have, what we hope, is a great location for them. They get the first sun and are protected from most of the wind that can sweep through here pretty harshly. Picking our location was a little difficult. You don't want an area that's too damp, too windy, too sunny, too shady... We're surrounded by three mountains, with many more ridges beyond them. The time we have direct sunlight is limited, and we have countless all-year and seasonal springs, so we have a lot of damp and marshy areas. The spot we chose was at the base of the mountain behind us that gets the first sun. It's the only spot that consistently gets almost the same amount of sunlight in each season. Midday it's shaded slightly by the trees behind it, and it's mostly protected from winds. It's not far from a spring, and during the wetter months it can get kind of soggy not far off. Despite the spring and wetlands, I think they'll be happy.
I am sure I will have many more updates about the bees in the near future. In a few days we'll find out if the queen takes and hopefully it will be smooth sailing from there. Come back soon for another update, and by the end of the week I'm hoping to put together another post that has a list of the minimums that you need to get started as a beekeeper as well as a list of books and other resources we found helpful.
I'd love to hear about your adventures in beekeeping, or any tips you found helpful. Was there something that surprised you when you first started out? Please comment with your stories or pictures! Here's a few pictures I got during the installation.

 RSS Feed